
Land Rover Defender: Child Seat - (15kg-36kg)
Land Rover Defender 2020-2026 Service Manual / General Information / Safety / Child Seat / Child Seat - (15kg-36kg)
CHILD SEAT - (15KG-36KG) - PART NUMBER: VPLRS0399
REMOVAL AND INSTALLATION
WARNING: Accessories which are not correctly installed can be dangerous. Read the instructions carefully prior to installation. Comply with instructions at all times. If in doubt, contact your nearest approved retailer.
NOTE: This procedure contains some variation in the illustrations depending on the vehicle specification, but the essential information is always correct.
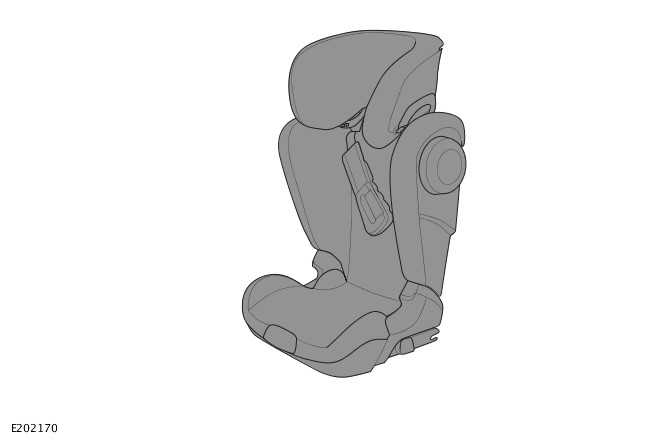
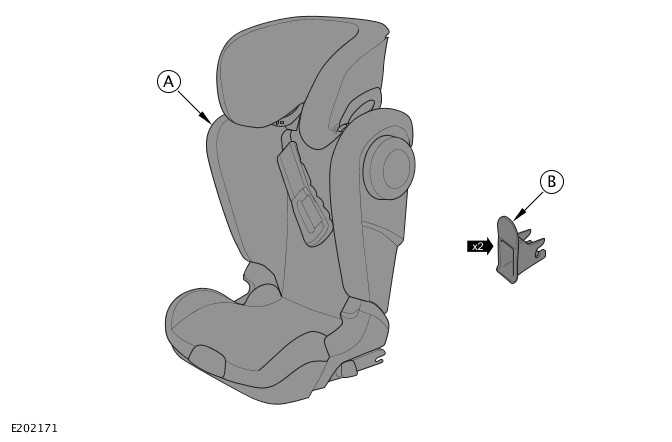
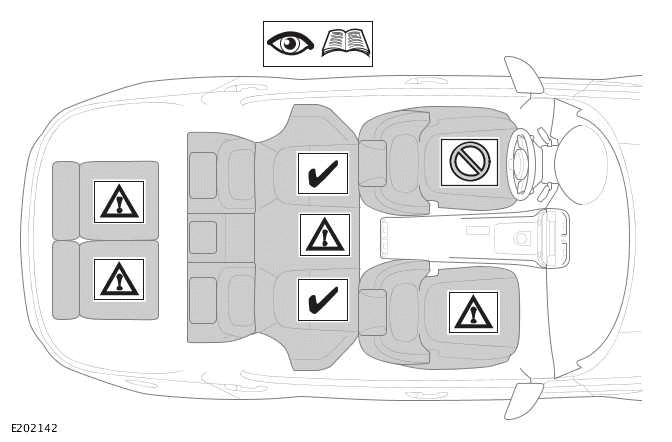
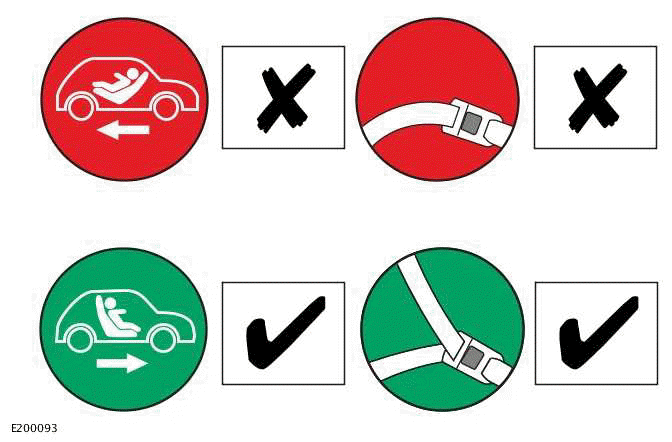

INSTALLATION
1.
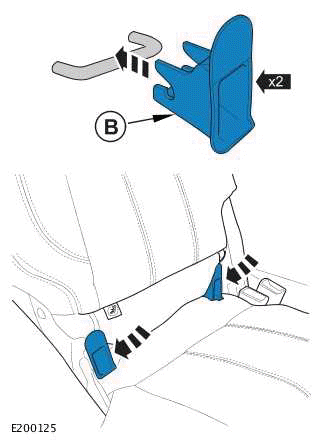
2.
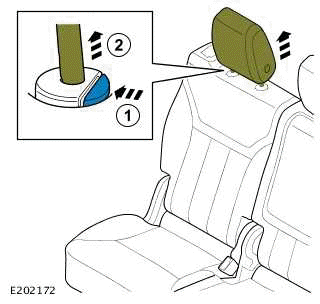
3.
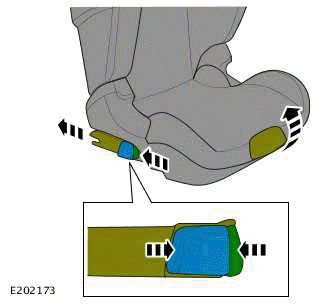
4.
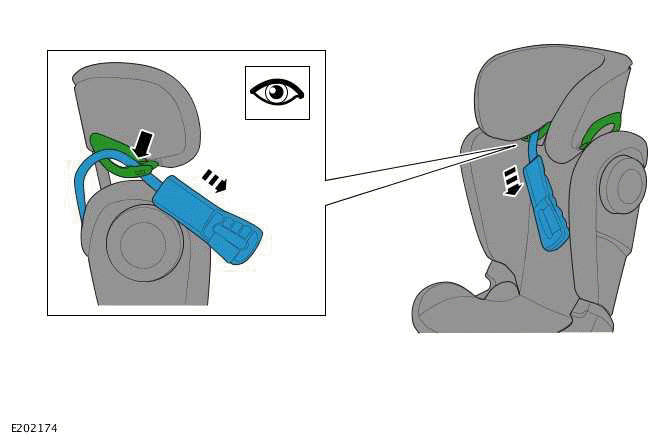
5.
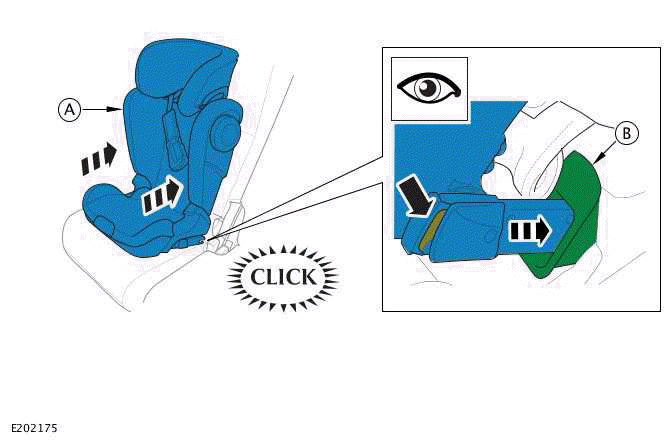
6.
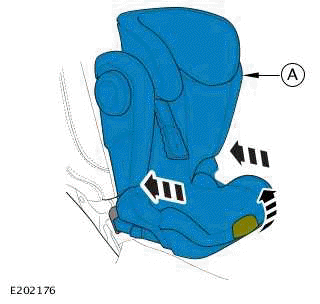
7.
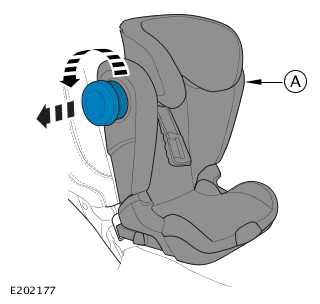
8.
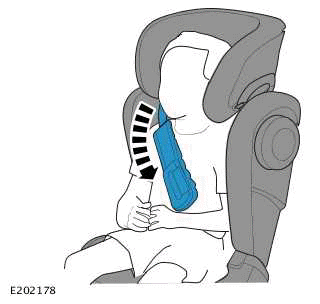
9.
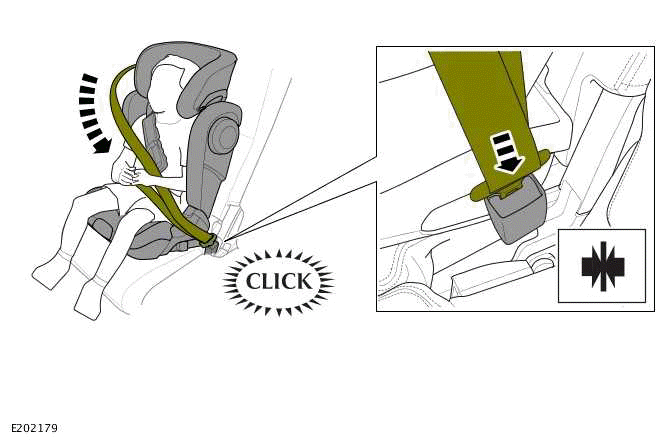
10.
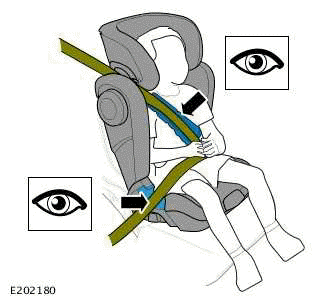
11.
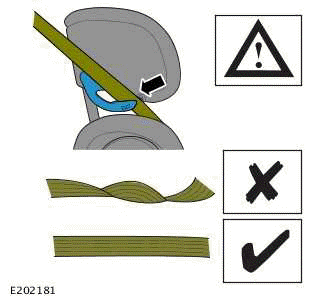
12.
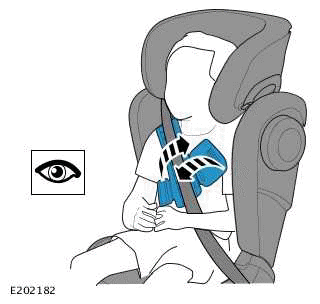
13.
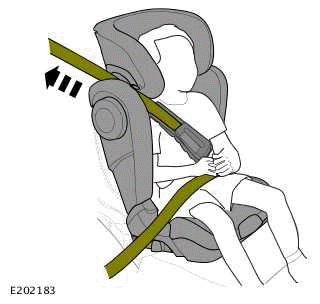
REMOVAL
1.
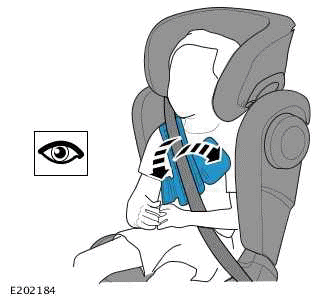
2.
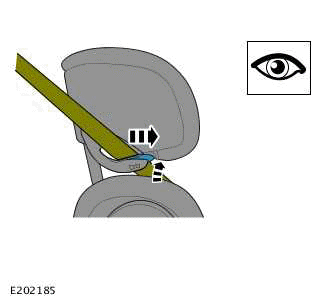
3.
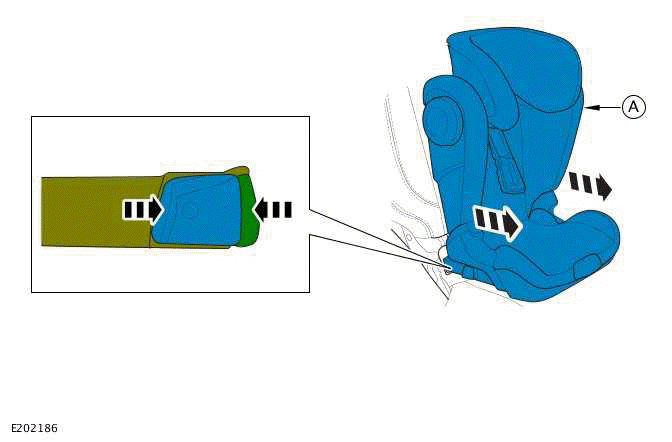
READ NEXT:
 Child Seat - Group 1 I-size
CHILD SEAT - GROUP 1 I-SIZE - PART NUMBER:
VPLRS0578
REMOVAL AND INSTALLATION
WARNING:
Accessories which are not correctly installed can be dangerous. Read the
instructions carefully prior to
install
Isofix Base
ISOFIX BASE - PART NUMBER: VPLRS0396
REMOVAL AND INSTALLATION
WARNING:
Accessories which are not correctly installed can be dangerous. Read the
instructions carefully prior to
installation. Comply wi
Warning Triangle
WARNING TRIANGLE - PART NUMBER: VPLVC0060
REMOVAL AND INSTALLATION
WARNING: Accessories which are not correctly installed can be dangerous.
Read the instructions carefully prior to
installation. Comp
SEE MORE:
Touchscreen extra features
APPS SCREEN
Make sure the relevant safety warnings
and cautions have been read and
understood before driving the vehicle.
Select the apps icon from the home
screen.
The apps screen menu gives options for
enabling, disabling, or adjusting the
settings of available features. Scroll up or
down to vie
Tow hitch receiver
Make sure the relevant safety warnings
and cautions have been read and
understood before towing a trailer.
The fitting of a tow hitch is required before
towing
Note: Make sure that safety chains are
used and connected as shown.
Do not loop a safety chain over the tow
ball. The safety chain may sli
© 2010-2026 Copyright www.lrdefender.org
